Looking for new opportunities to engage your audience?
Try going live.
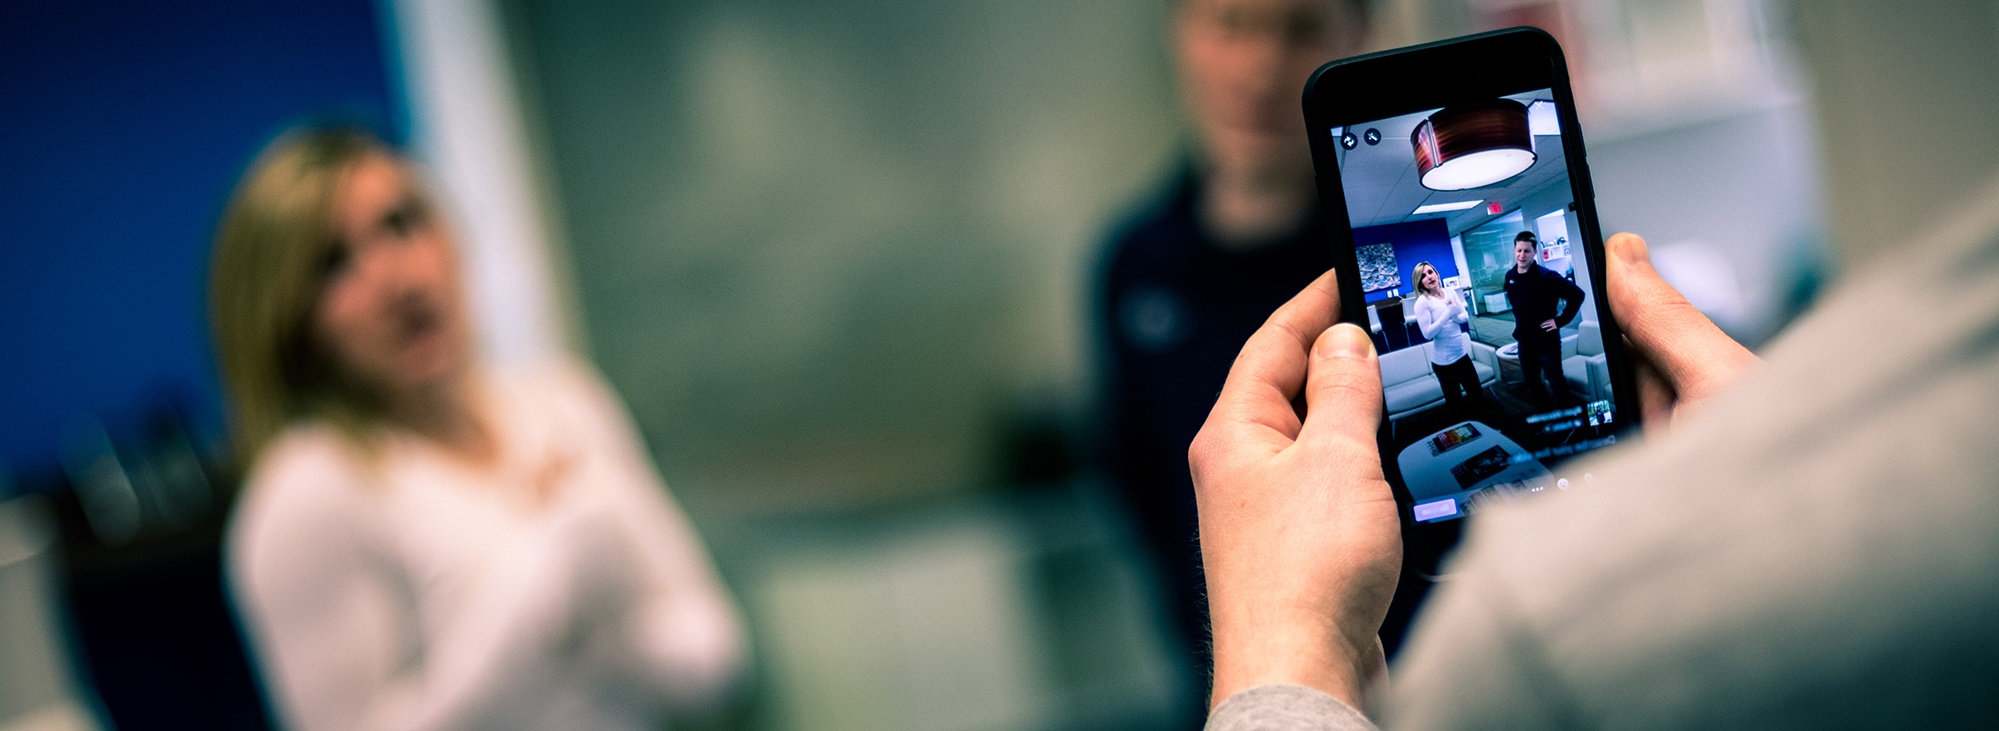
Facebook Live is a video feature on Facebook that lets people and pages share live video with their followers and friends on Facebook. Viewers can respond, comment, and see the reactions of others watching, allowing them to take part in the action of the broadcast.
Since rolling out in 2016, brands have used Facebook Live to connect in an interactive way. The increased opportunity for engagement is paying off: Facebook reported that users comment over 10x more on Facebook Live videos than on regular videos.
We’ve already recommended including video in your 2017 marketing plan, and going live is a great option for doing it.
So, if you’ve decided to use Facebook Live for your business, get ahead of the game with these best practices for before, during, and after you go live.
Before You Broadcast
In the weeks and days leading up to your broadcast, there are several things you or your team should consider. Keep in mind that preparing ahead of time will (hopefully) make things run much smoother the day of. Here are a few things you can do to prepare:
- Establish timing: Decide the day and time of your broadcast, and consider how long you plan to stay live (we recommend at least 10 minutes, but Facebook allows up to four hours). Keep in mind, the longer your broadcast, the more opportunity people may have to come across it on their newsfeed.
- Assign roles and responsibilities: Even if you’re only planning a short broadcast, clear expectations around responsibilities are a must. At the minimum, these are the roles you’ll need:
- Broadcaster: Responsible for hosting the live event and interacting/engaging with the audience.
- Channel Manager: Responsible for promoting the broadcast, monitoring the event and responding to comments in real-time, and assisting the broadcaster when live.
- Promote, promote, promote: Use the time leading up to your broadcast date to publish promotional content on your page. Doing so will help drive awareness and interest among your audience ahead of time.
- Quick tip: Leverage your network by providing influencers with content to distribute across their channels in advance to expand the potential reach of the broadcast.
- Write a compelling description: Your description will appear alongside the broadcast in newsfeeds, so make sure it entices people to tune in. Have this written ahead of time so you’re ready to post the day of.
The Day of the Broadcast
First step: Breathe. Second step: Take care of any loose ends, like ensuring both your physical environment and post settings are broadcast ready. Here’s what you should do:
- Make sure you’re connected: A poor wireless connection can ruin an otherwise great broadcast. Avoid any potential snafus by making sure your location provides a strong and reliable network. If that’s not an option, verify that you can establish a 4G connection instead.
- Choose your privacy setting: Unless you want a limited audience or are simply testing the broadcast, make sure your Facebook Live feed is set to “Public” to ensure the widest possible audience.
During the Broadcast
The moment that little red “LIVE” appears on your video stream, it’s go-time. Keep your broadcast running strong with these recommendations for the designated channel manager, broadcaster, and any additional on-screen team members:
- Be responsive and attentive: As users tune in, make sure the Broadcaster and/or Channel Manager are in sync with one another and interacting with commenters in a timely manner.
- Quick tip: Using commenters’ names when you interact with them will help people feel more involved, and can help foster relationships with the audience.
- Don’t be afraid to go off-script: If something noteworthy appears in the comments section, feel free to integrate it into your broadcast. Doing so will strengthen your connection to the audience, and potentially create opportunities for engagement, like saying “Thumbs up if you agree with her comment!”
- Remind viewers of the who, what, where, and why: Remember, not all viewers are tuning in at the same time. Find ways to remind them what your broadcast is for, who you are or who you’re with (if it’s an interview or panel), and what you’re discussing.
Post-Broadcast
You’ve signed off and yelled cut – but now what? These are the three key things you should do after any and every broadcast (you can thank us later):
- Save the video: It seems simple, but it’s a step you won’t want to forget. Select the “Save video to your camera roll” option that appears on screen after you’ve completed the live broadcast. Saving the video makes it possible to view the broadcast offline, and post it on other channels if need-be.
- Say thanks: Ultimately, your viewers are the difference between a successful live broadcast and one that falls flat. Share your appreciation by adding a post-show thank you message to the comments section of your video.
- Analyze the video: Review and take notes on your broadcast’s performance, since the engagement you received may spark ideas for future events, problem solving, and content topics. Here are some key performance metrics provided by Facebook:
- Minutes viewed
- Unique viewers and peak live viewers
- Video views and 10-second views
- Average percent completion
- People reached
- Reactions, comments, shares
Using these best practices means fewer potential issues when you go live, and more time to focus on hosting an enjoyable broadcast that generates audience engagement.
Have you considered using Facebook Live for your business? Let us know what you learned from the experience on Twitter at @QuattroPhilly.